I think this was the original foray of a shoulder harness in the Beechcraft Executive line of aircraft, except the ‘back-breakers’ that attached low in the seat back. Starting in the early 70’s, a bracket was installed above the headliner to existing structure. BAS, Inc. in Eatonville, WA – just down the road a piece from us, has a real nice kit for the earlier aircraft, but the overhead venting was changed about this time, due to that and minor structural changes, the BAS bracket does not fit in many of the aircraft built in the 1970’s and beyond. They do have a PMA’d replacement shoulder harness / lap belt assembly for those aircraft, and it really isn’t all that hard to install the Beech brackets. By the late 70’s, Beech had gone to a diagonal shoulder harness, like in your auto. Some folks still prefer to have the dual-strap units, so here is an over-view of installing them. We have installed these brackets in V35B, F33A, and the 36 series: A, A-TC and B-TC; these photos are A36TN.
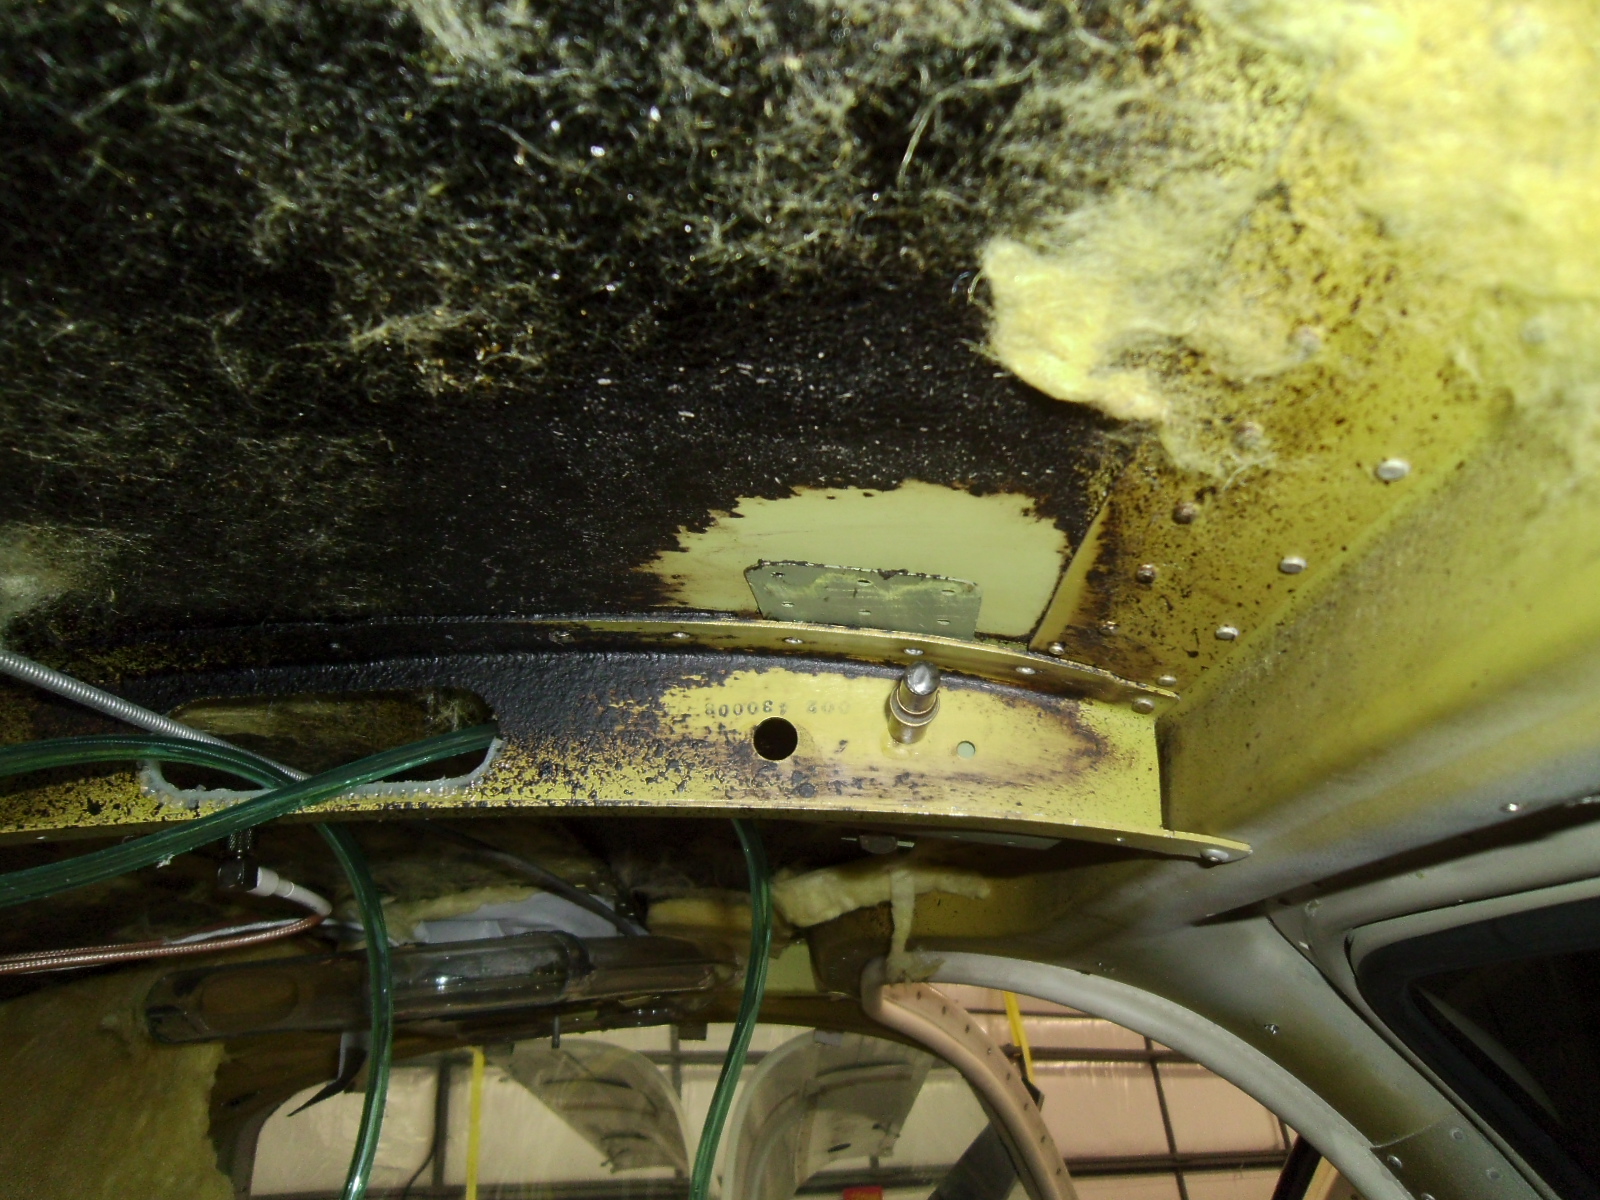
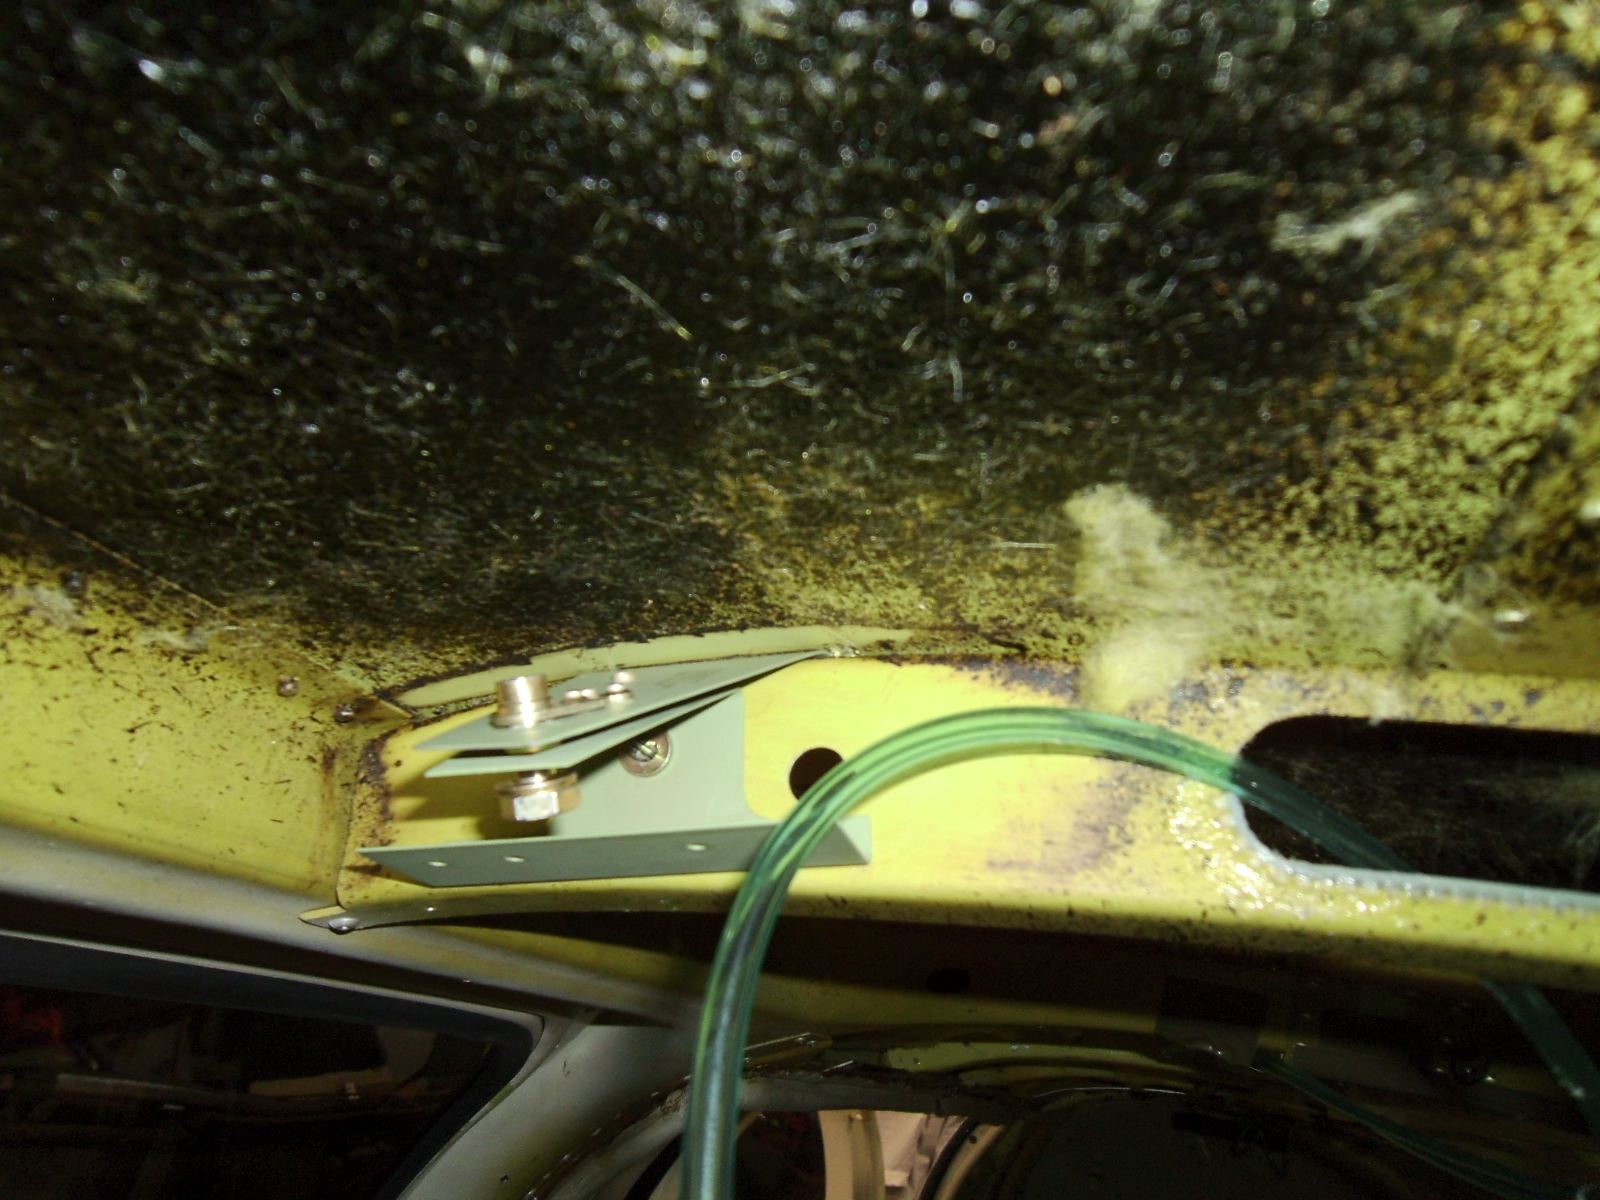
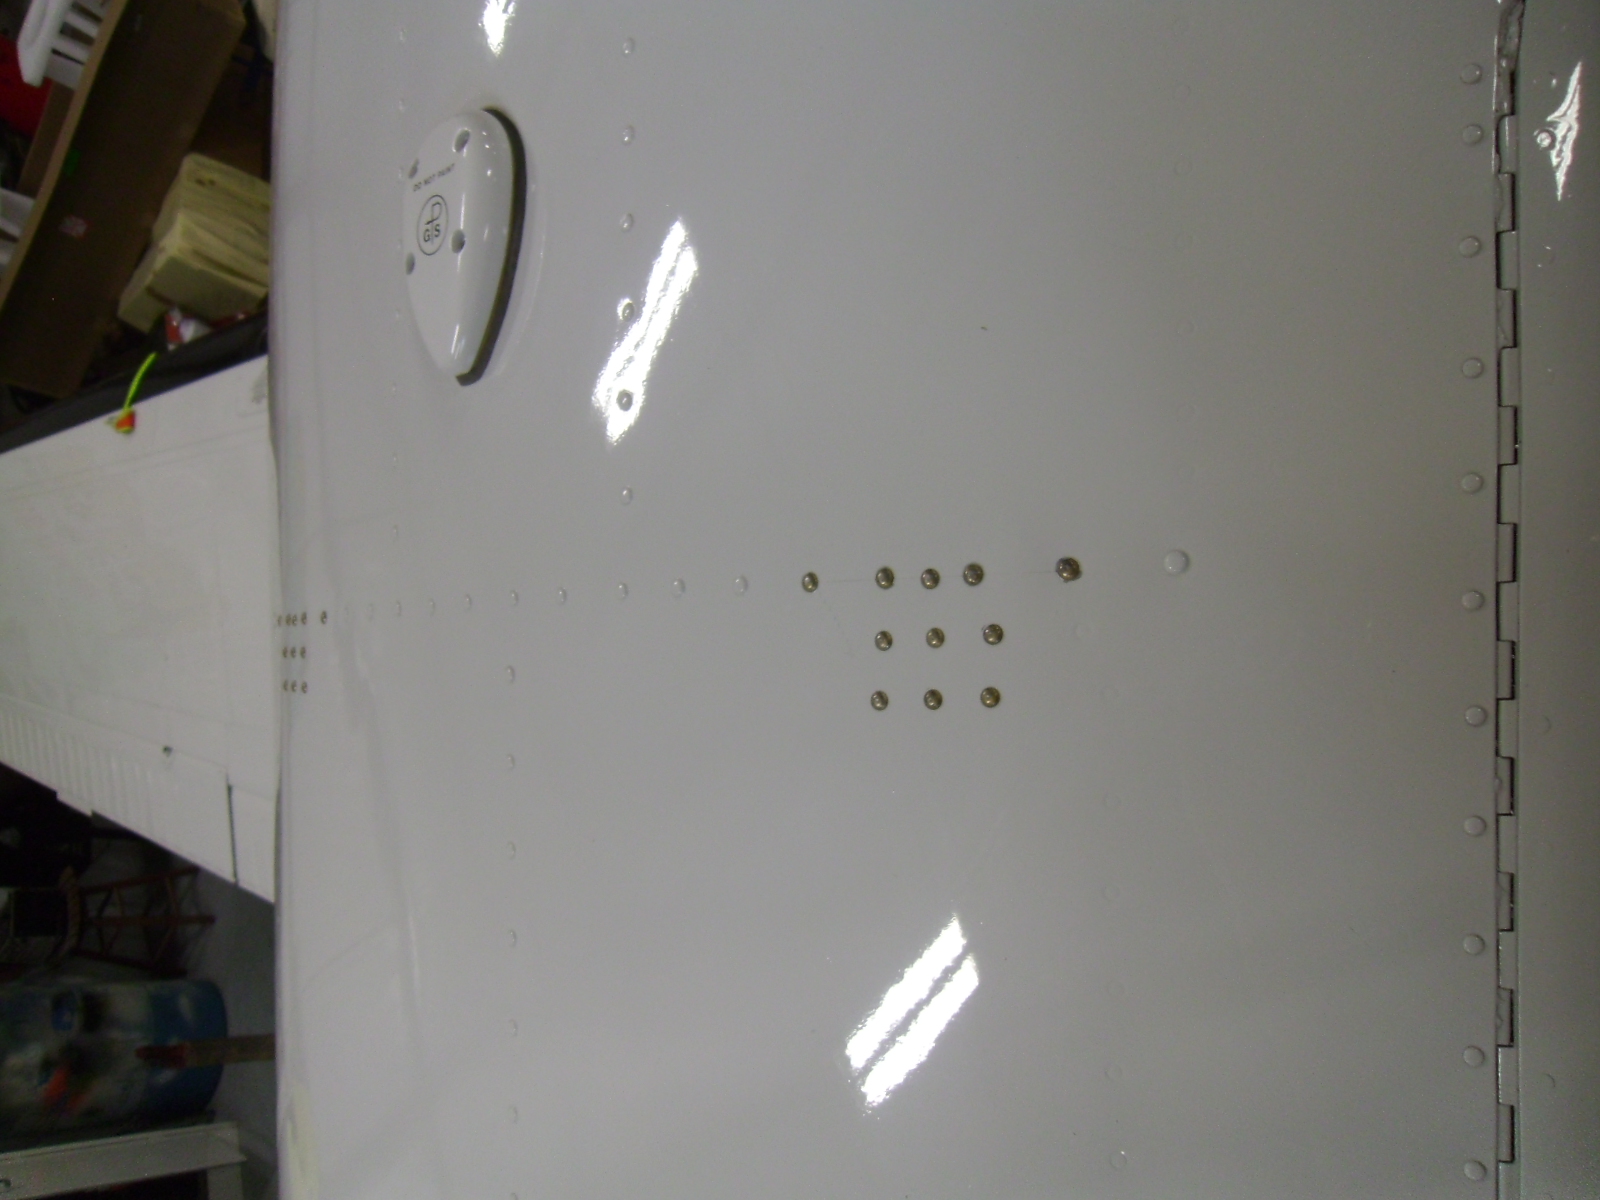
Start by locating the edges of the headliner. Sorry, don’t have that part photographed, but basically mark the side and forward edge after the upper (window) trim has been removed. Then clean the tar off of the installation area as shown.
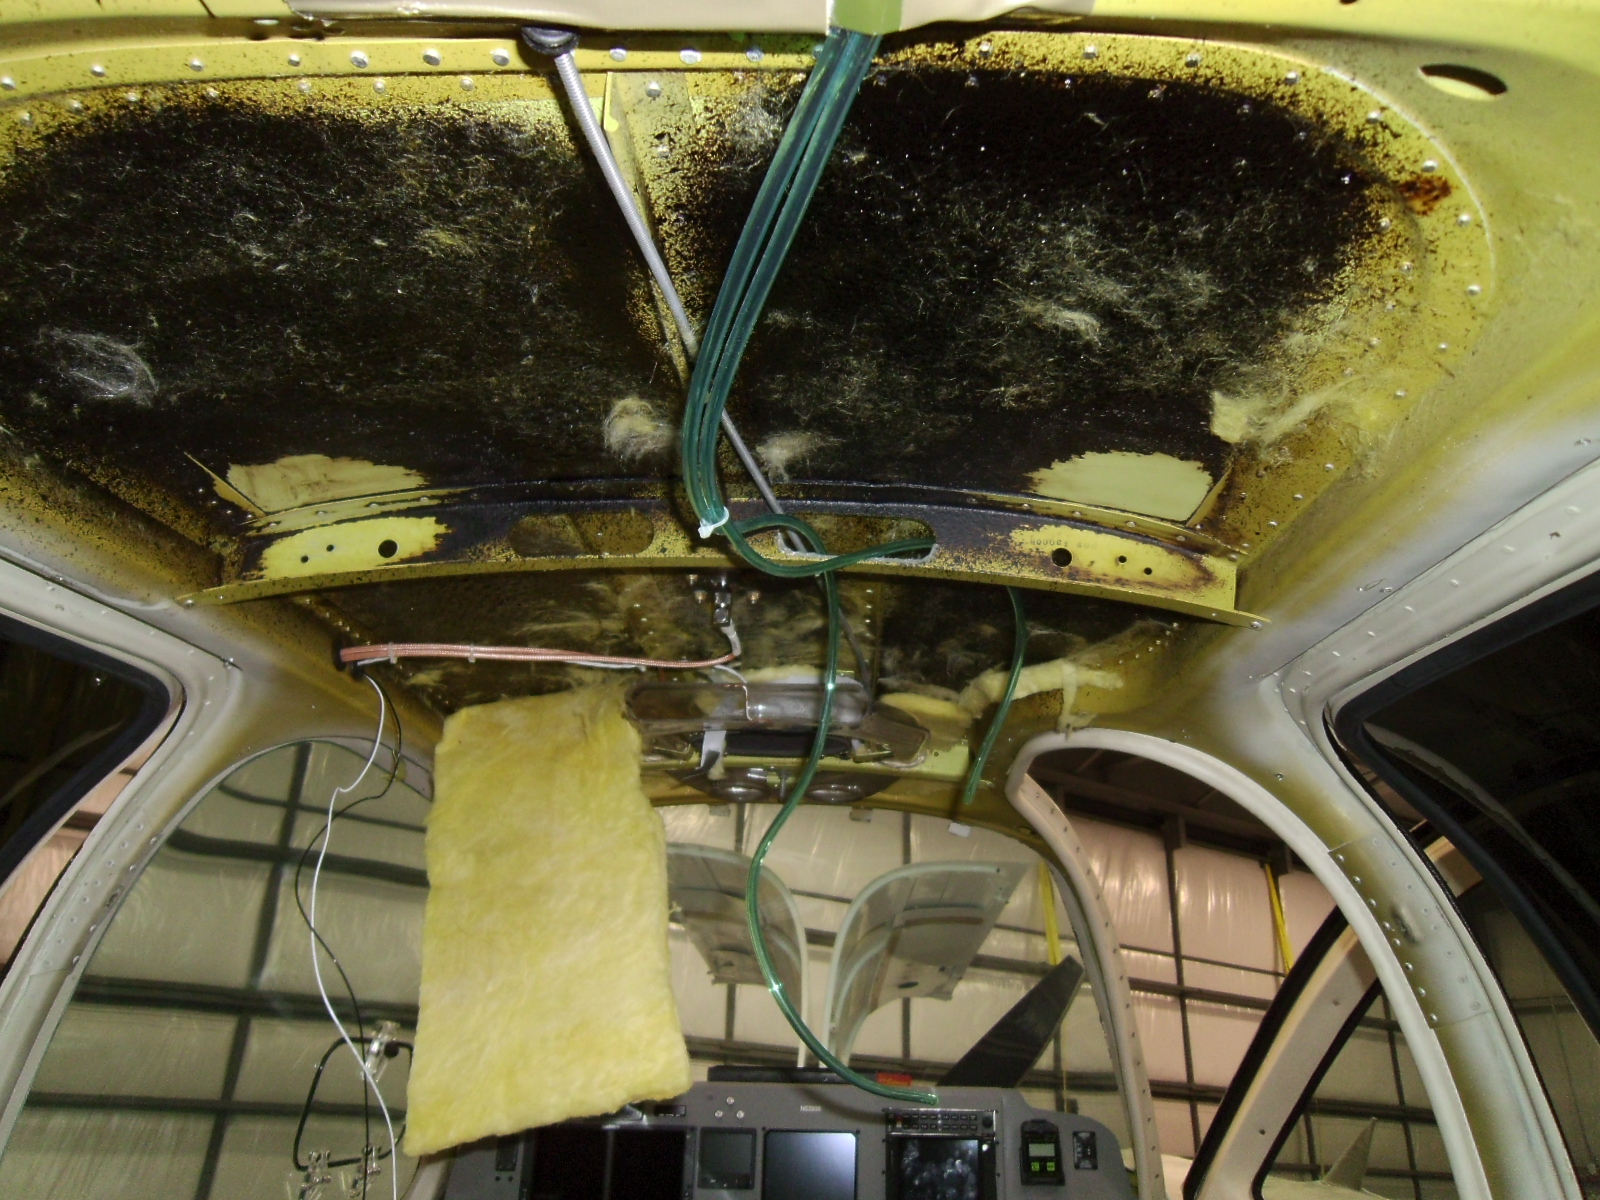
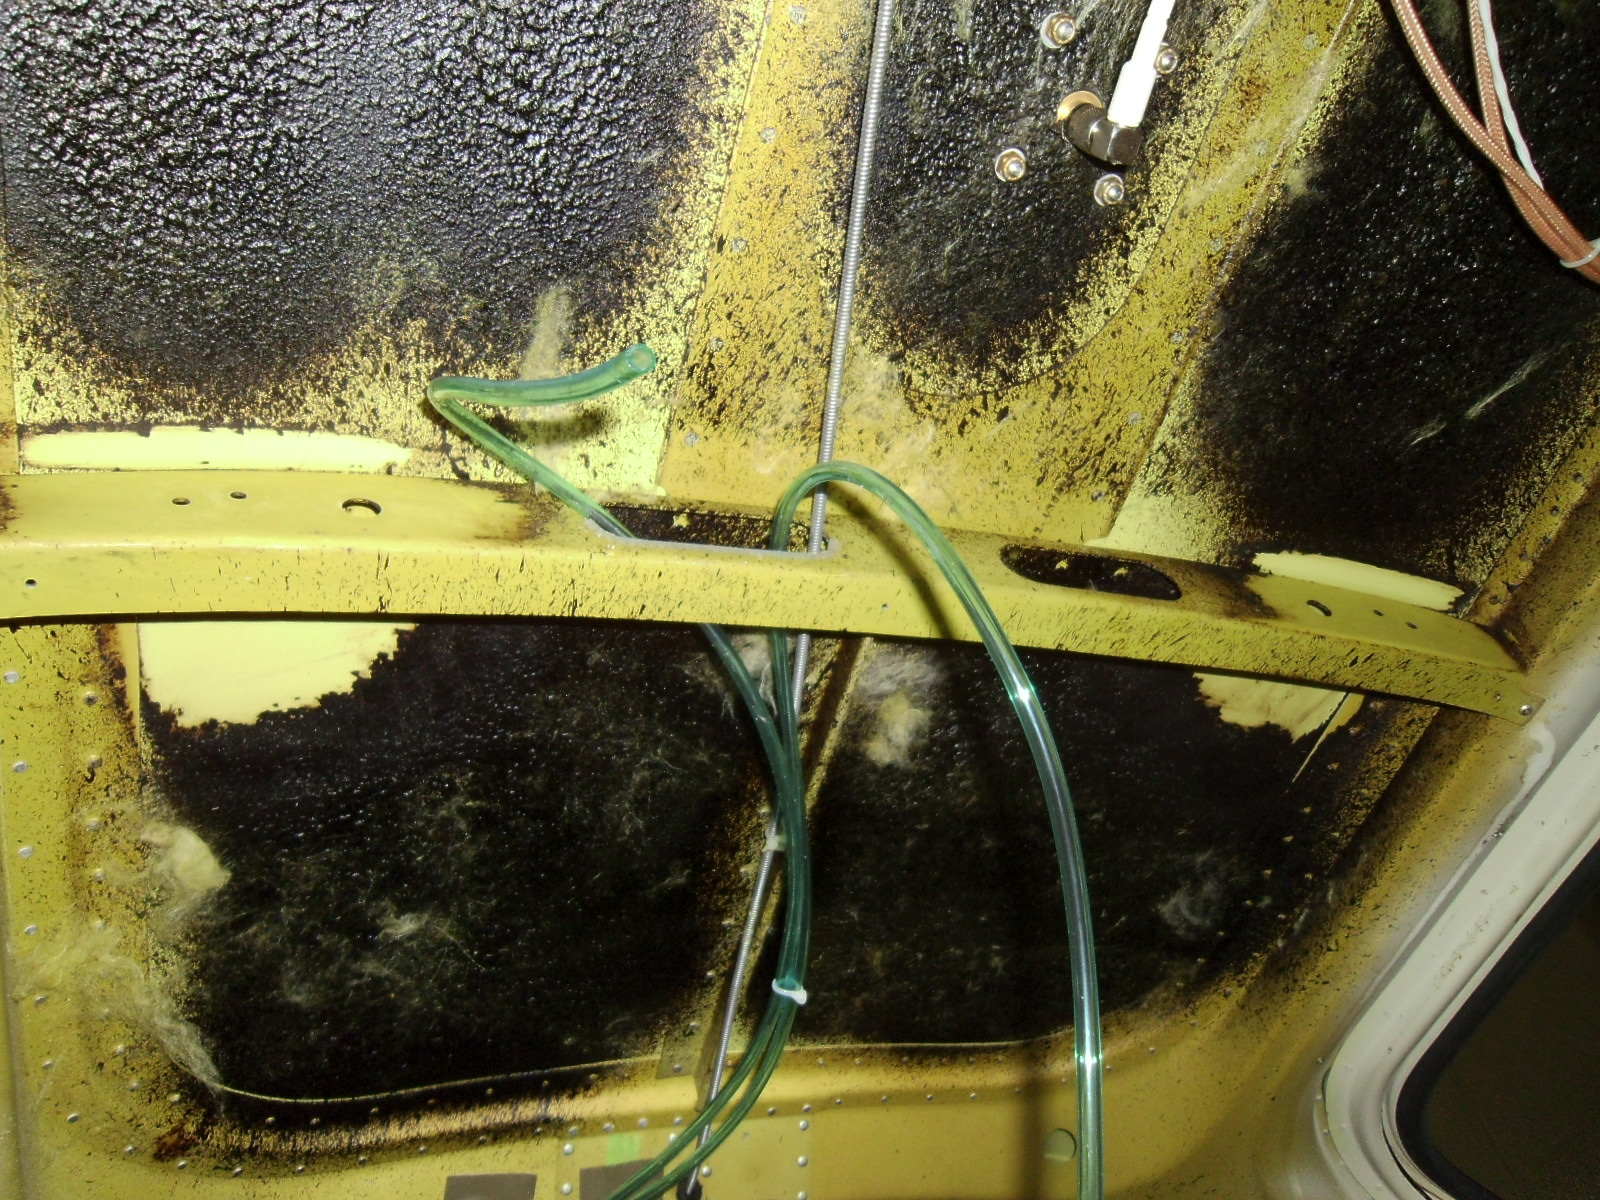
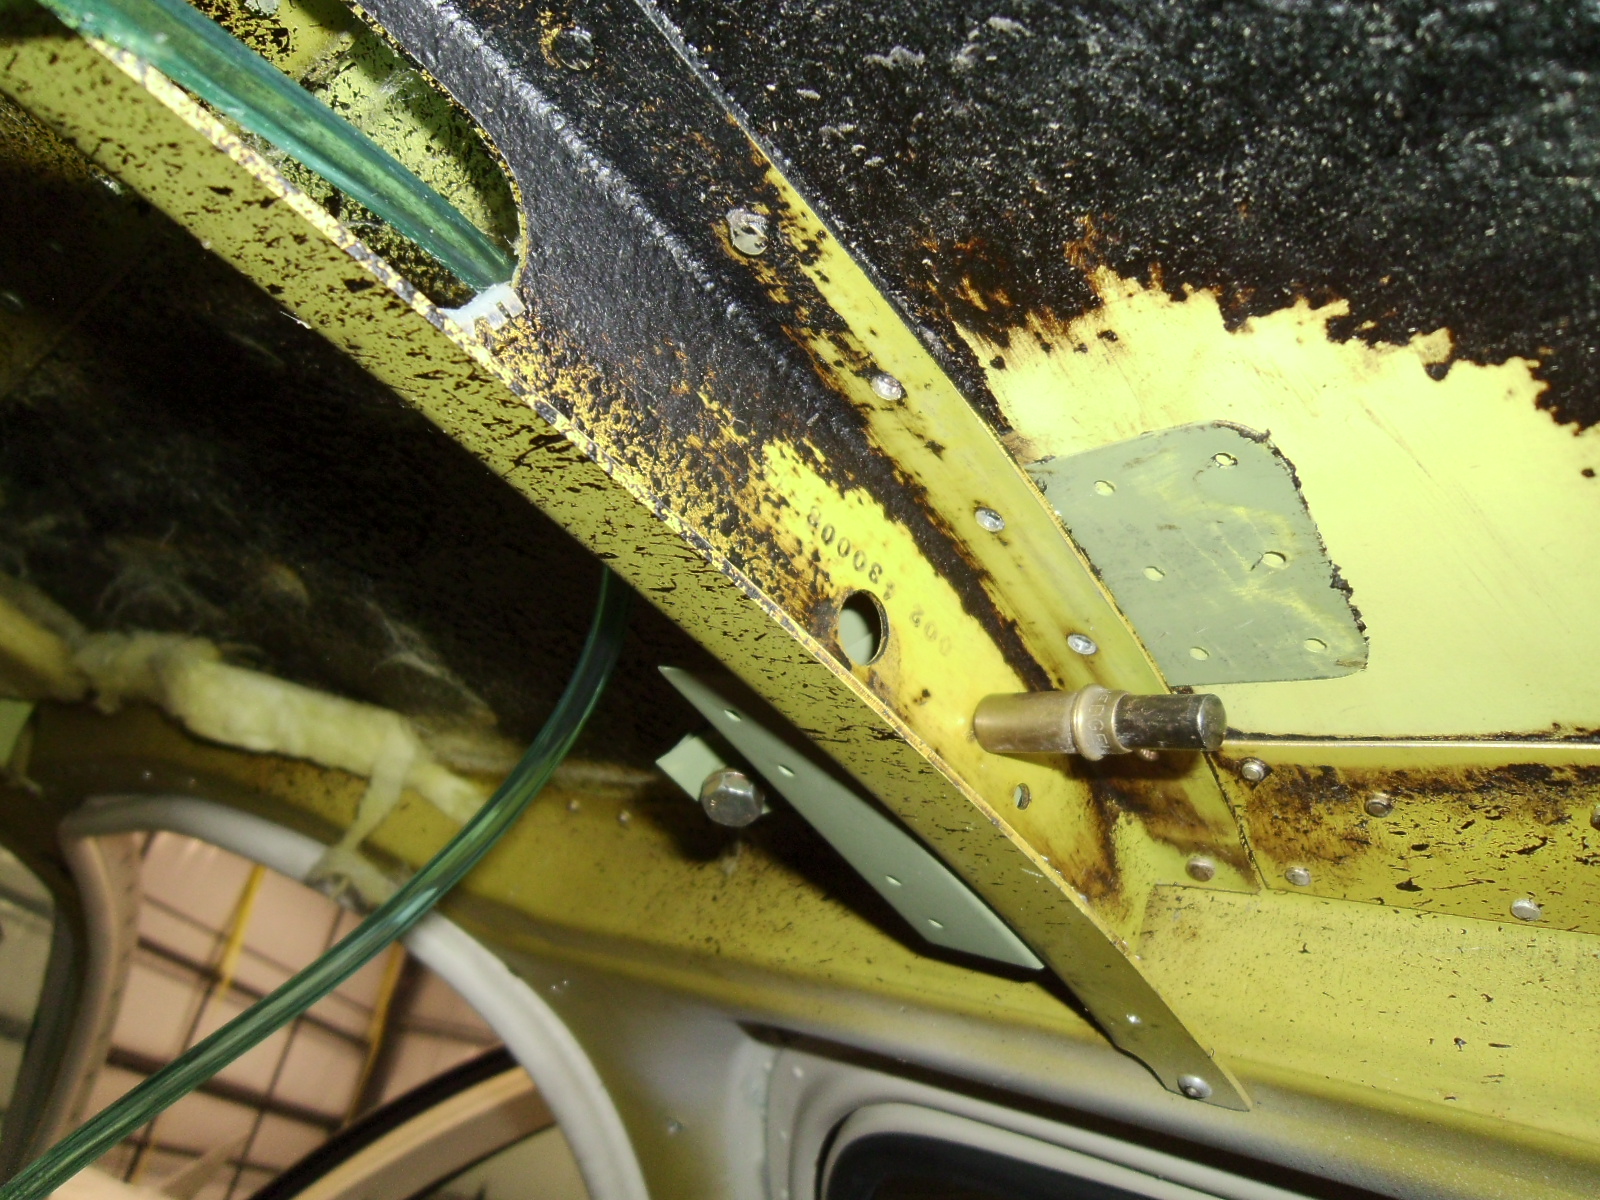
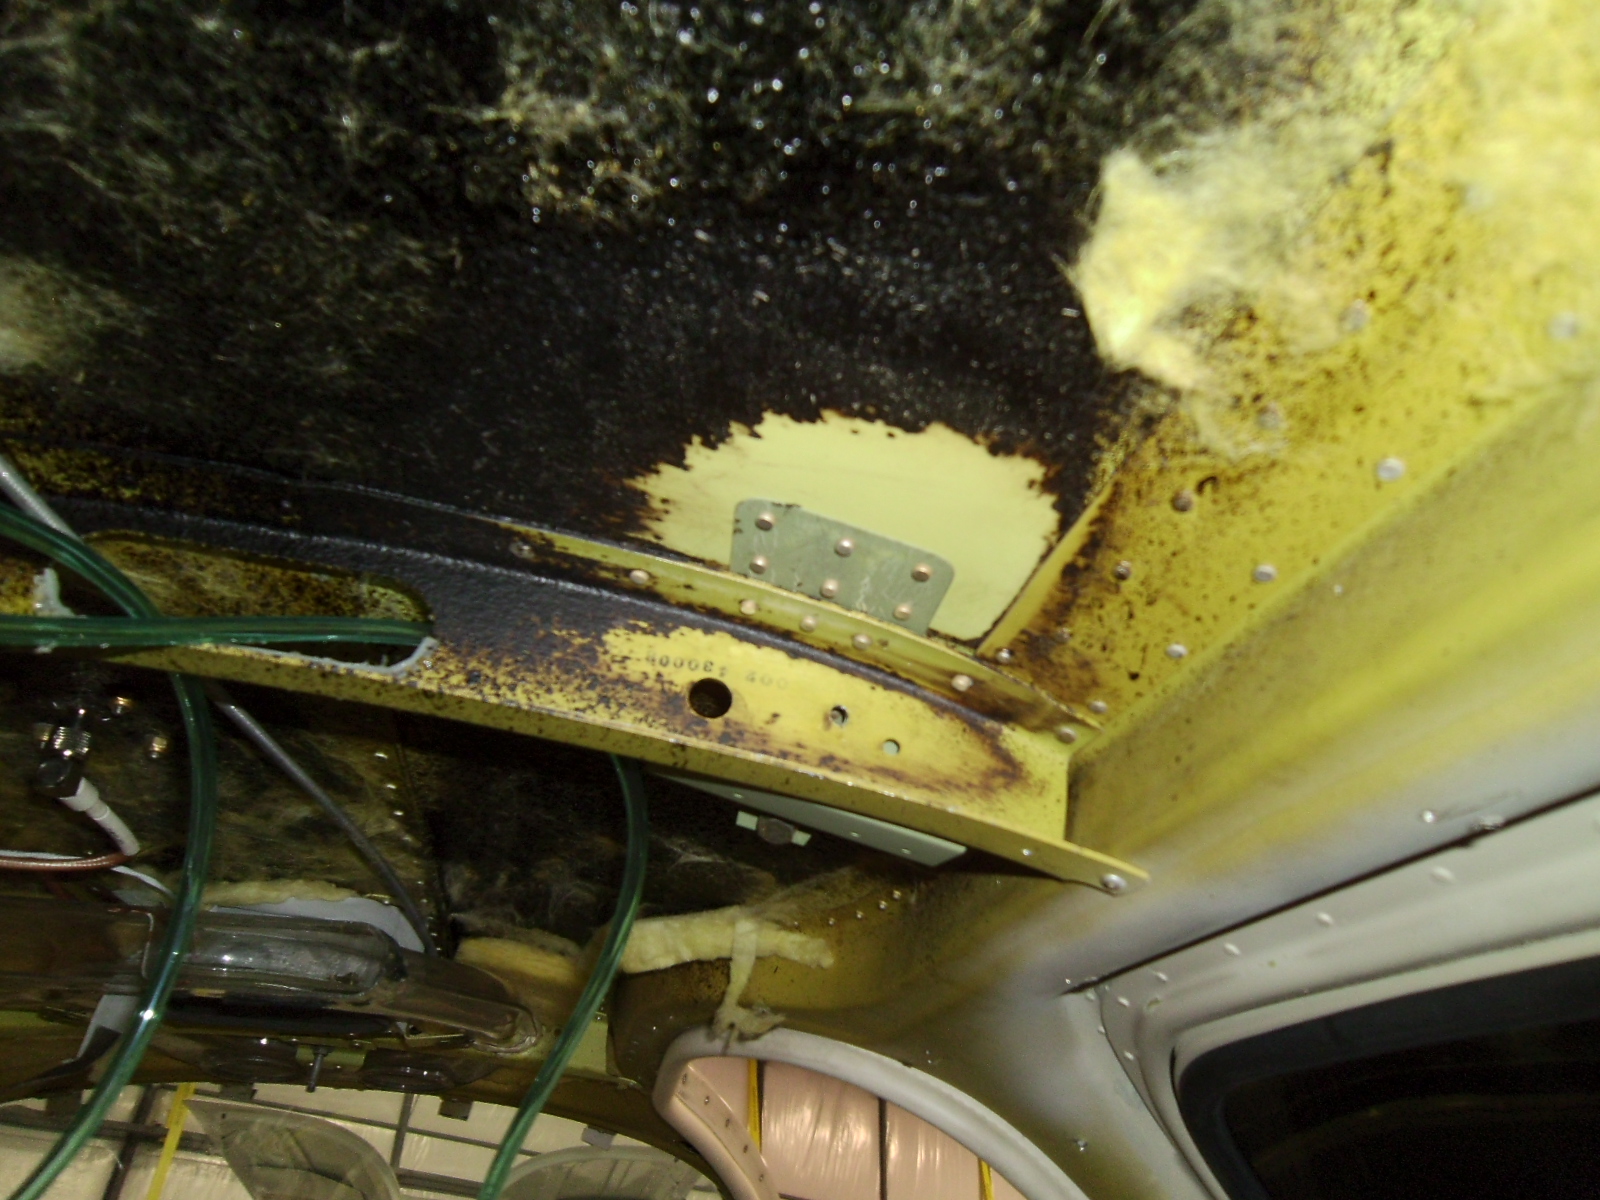
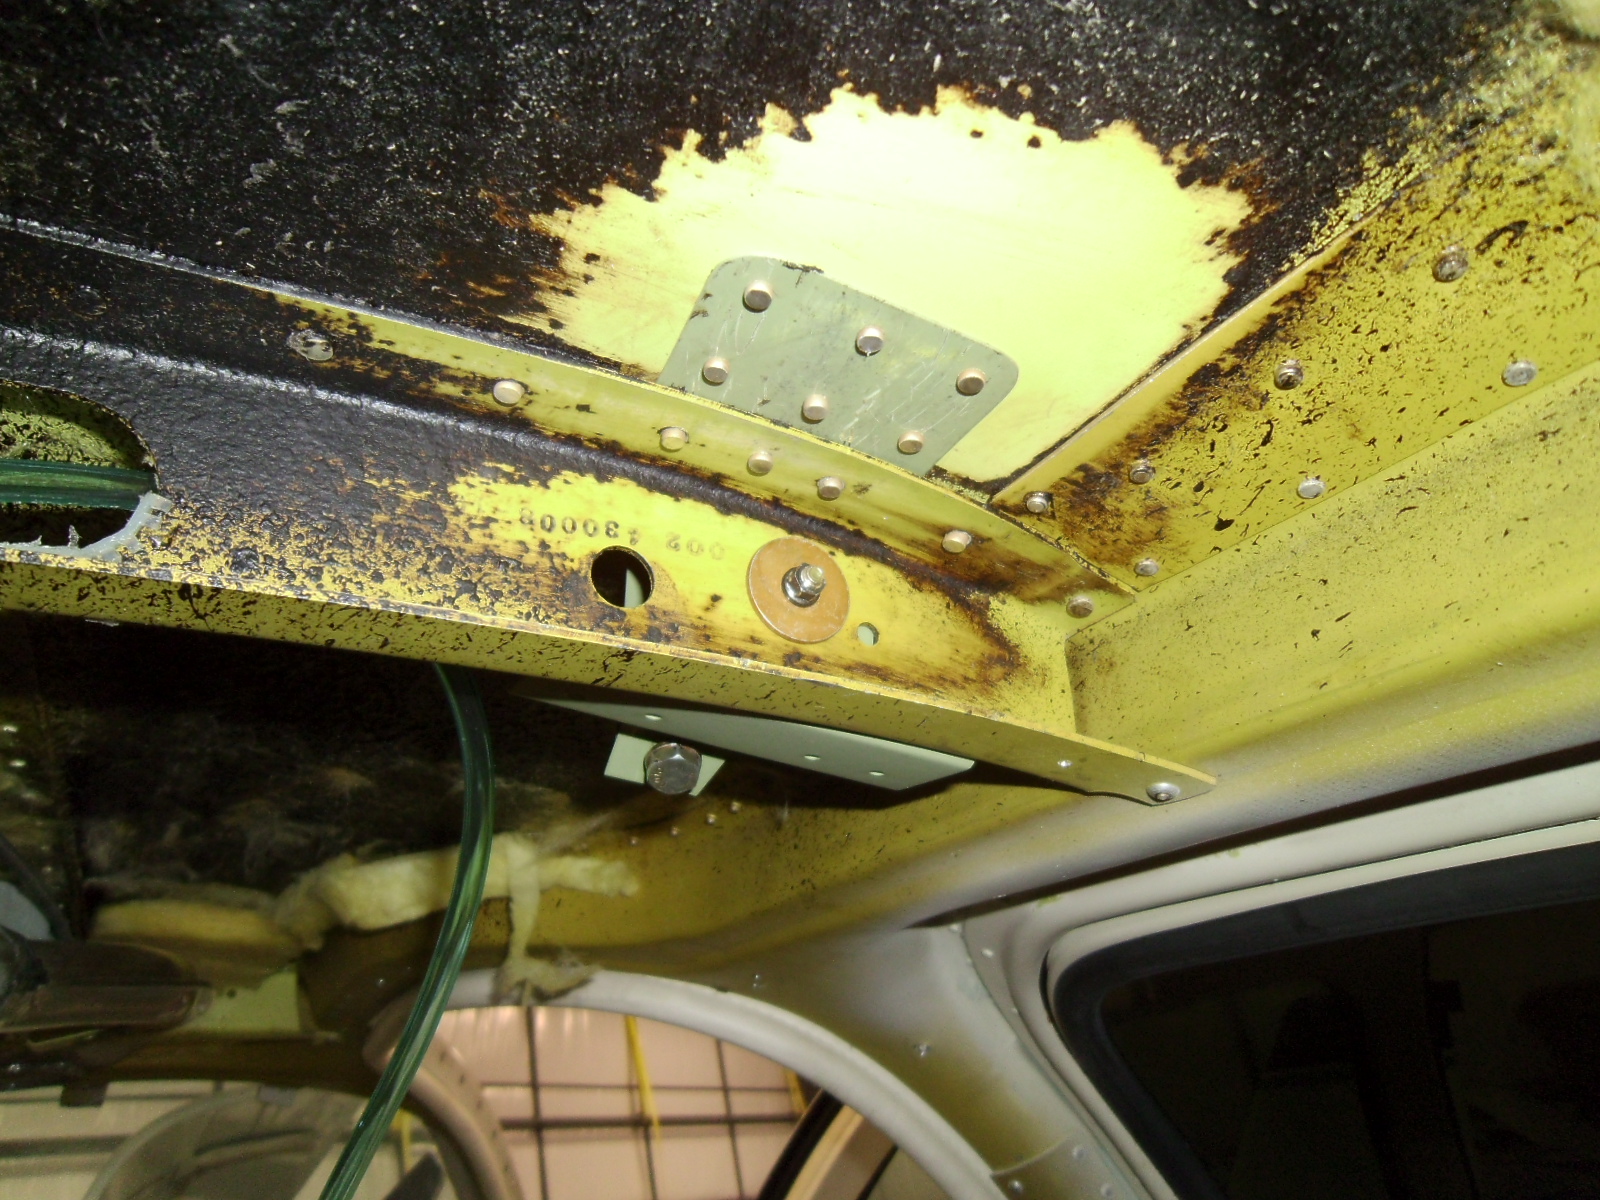
Locate the four rivets on the bulkhead and remove them; two will go through the new brackets, the other two allow a little ‘wiggle-room’.
Slide the brackets into place. Note there is a strategically placed 3/16″ hole that is kind of handy, place a cleco in there and make sure the bracket is tight to the bulkhead.
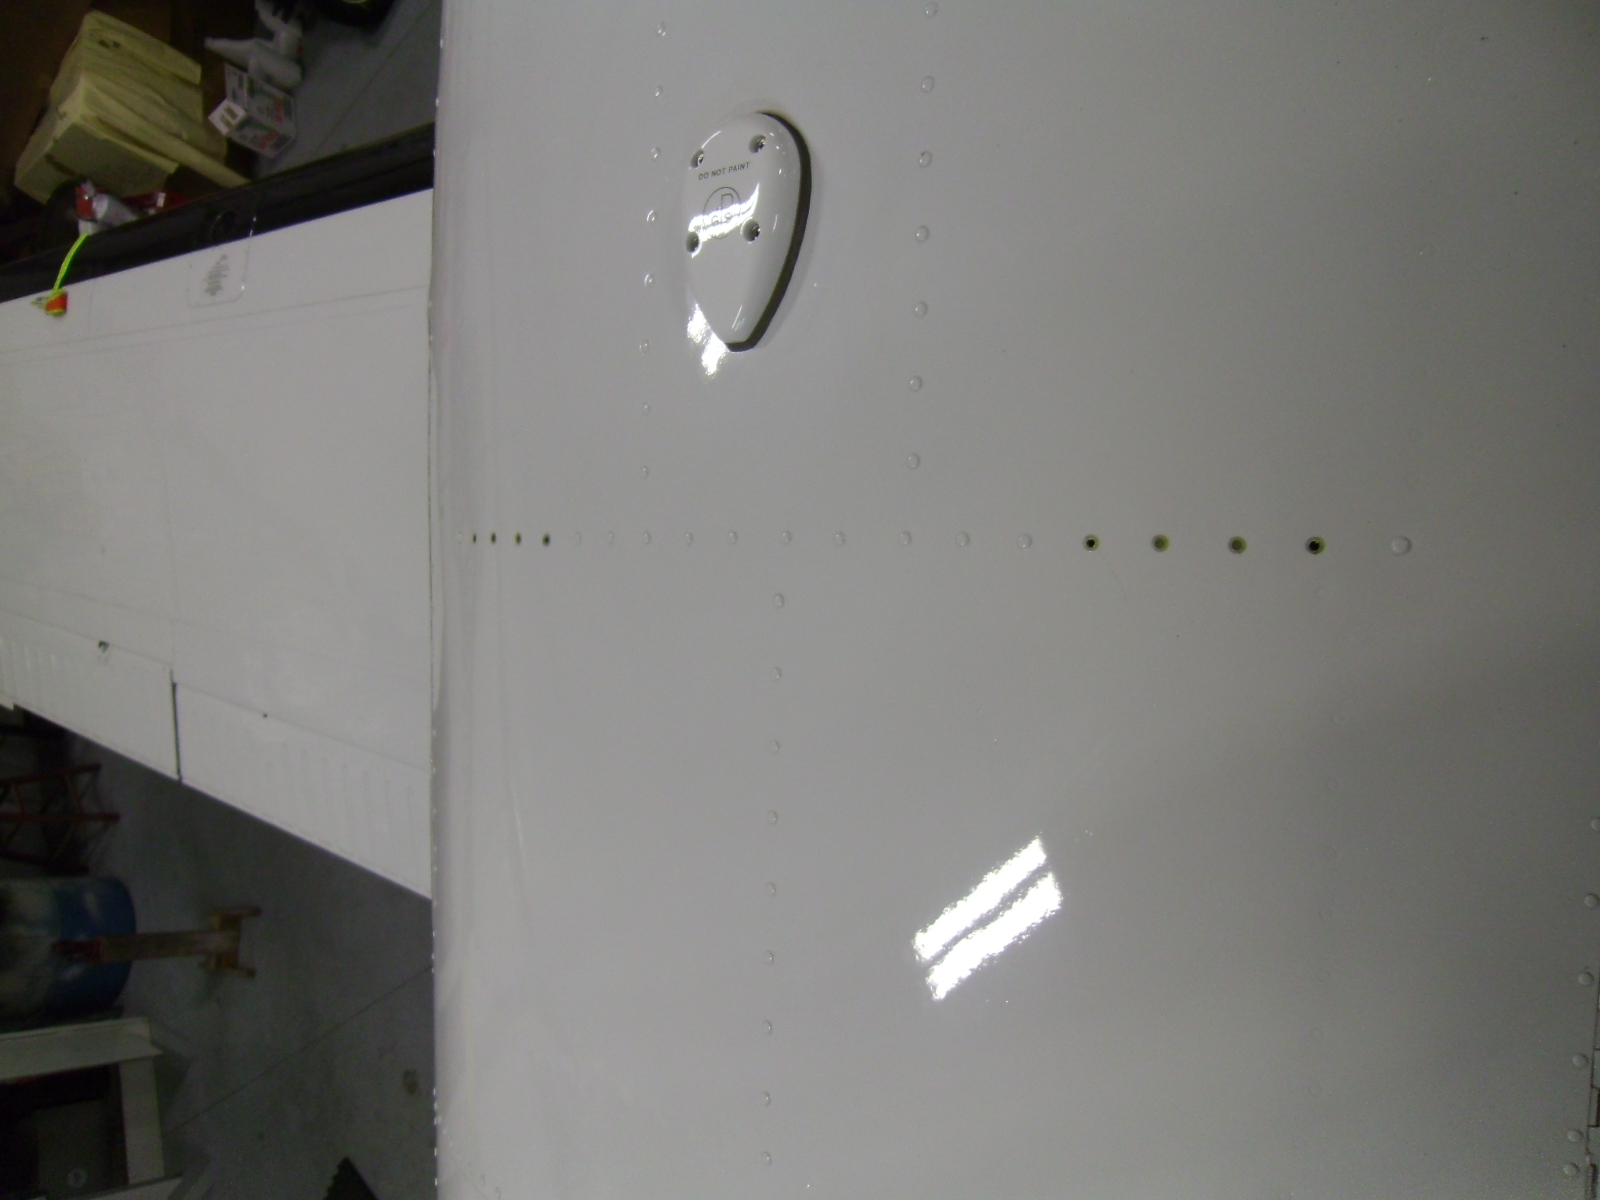
From the inside, locate and drill 6 holes in the aft tab and through the skin, proper edge distance rules apply here.
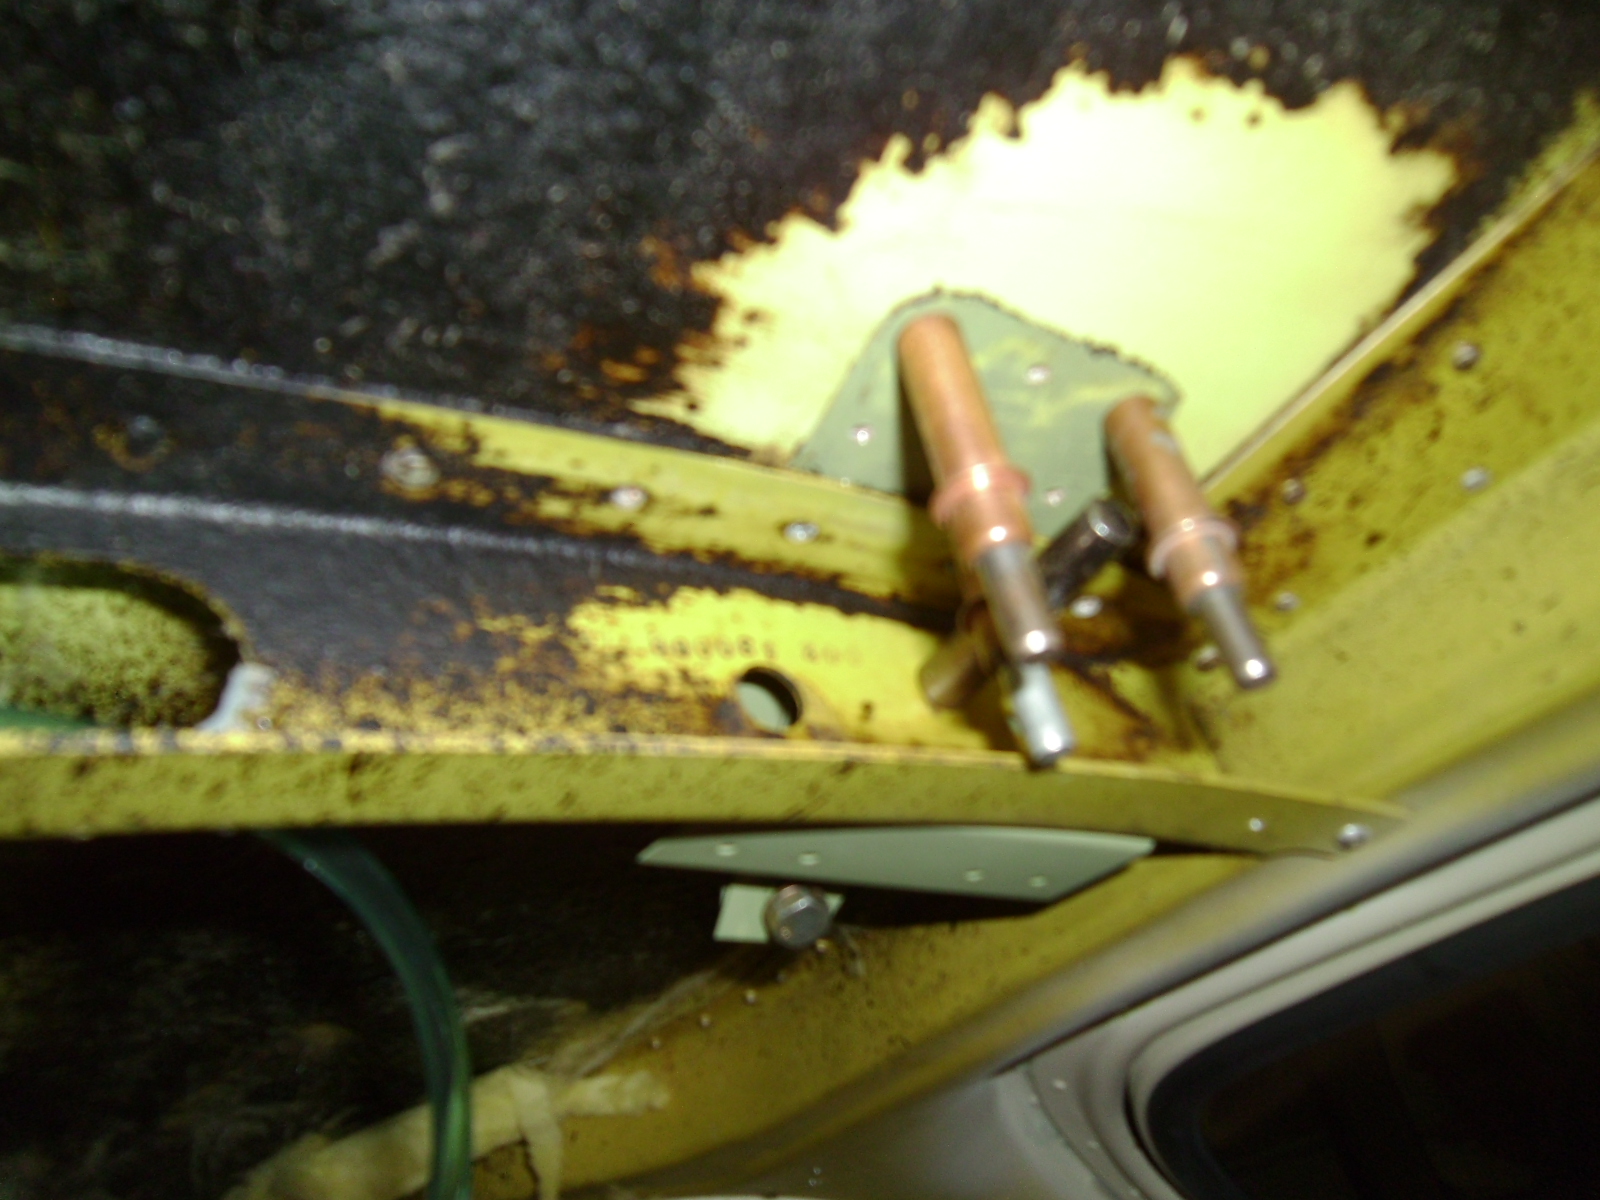

Then from the outside, drill the bracket through the two holes shown, and add another mid-space.
Remove the brackets, deburr, reinstall & rivet with MS20470AD4 rivets of appropriate length, and add hardware to the provided hole.
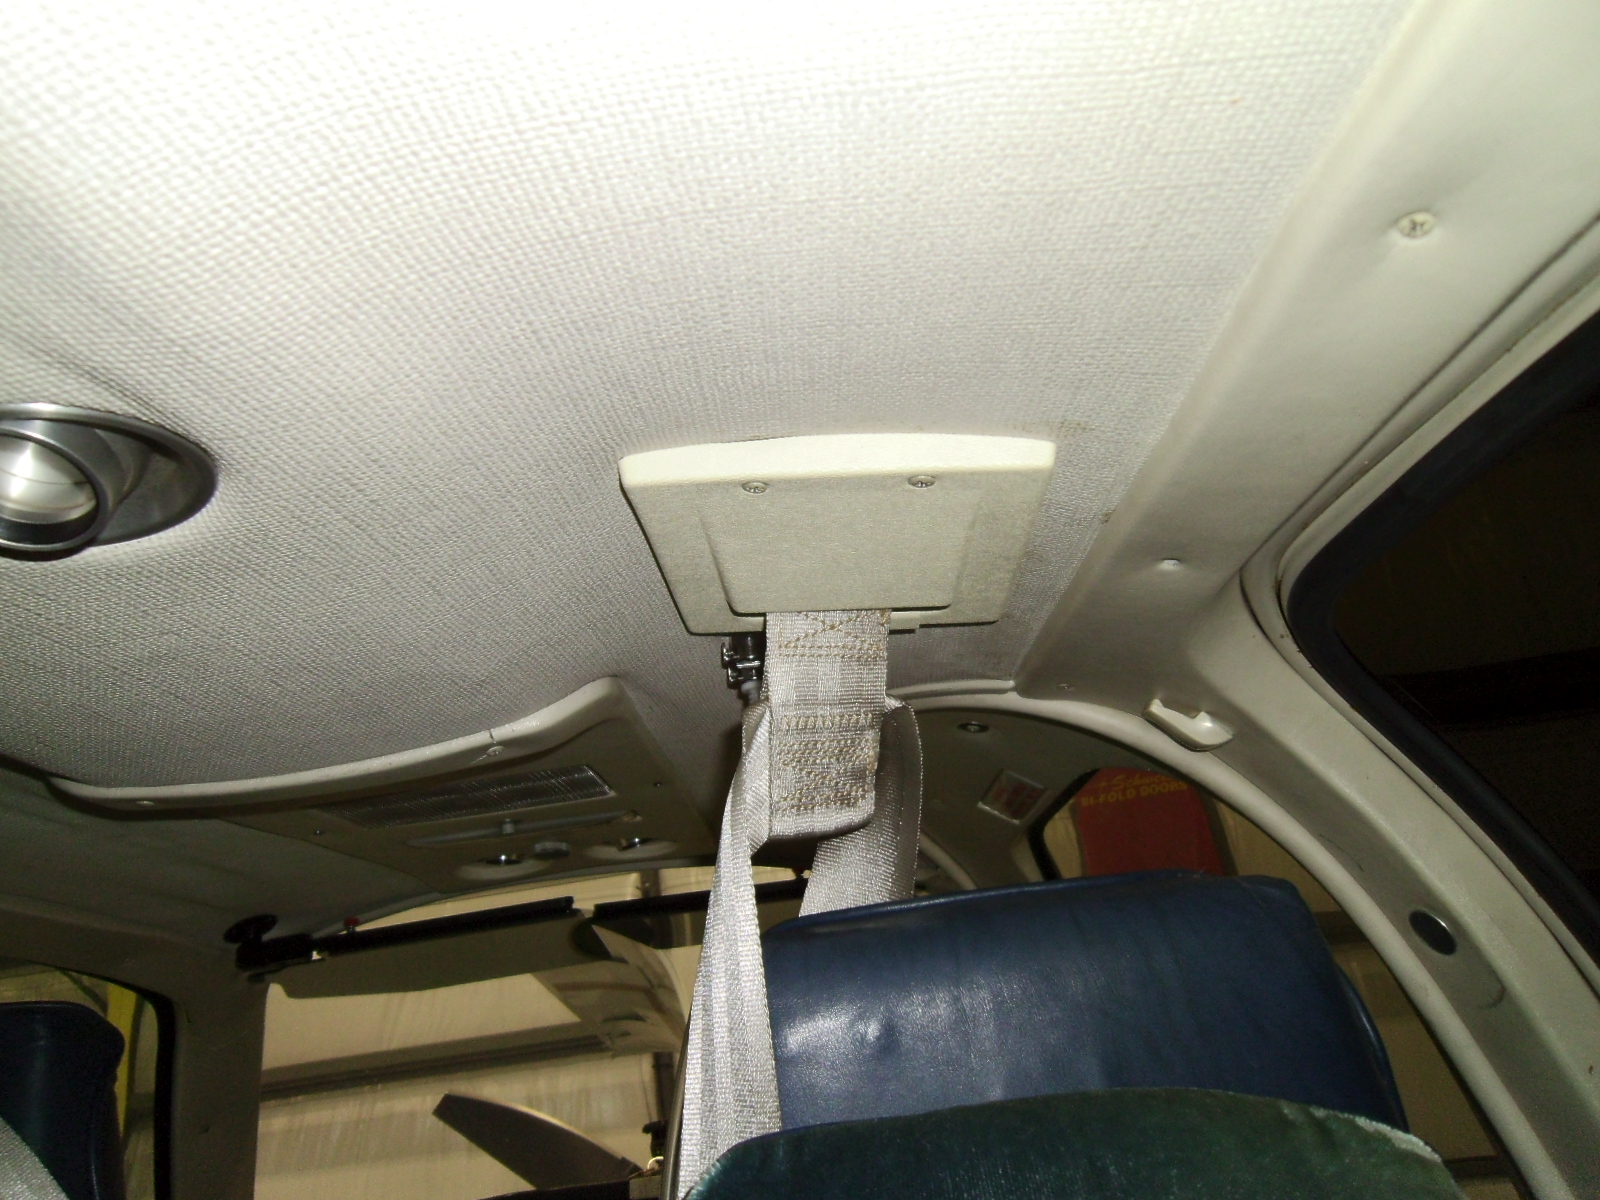
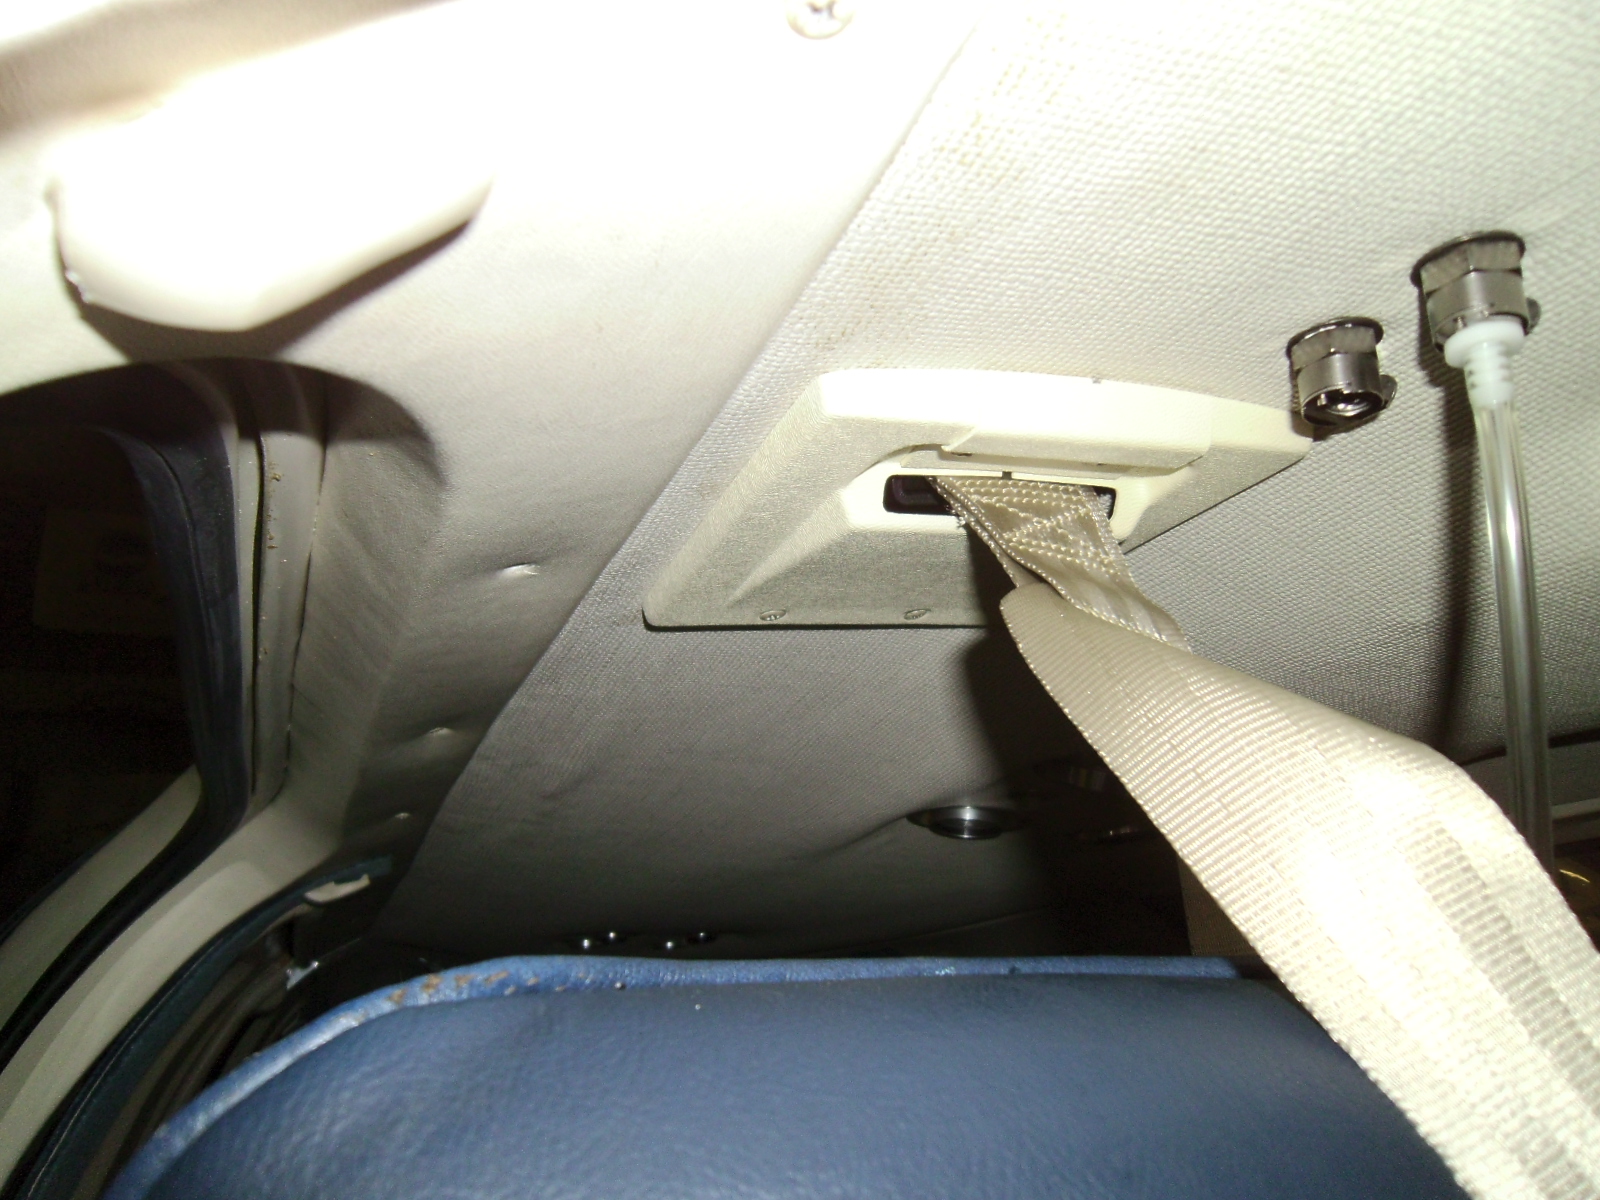
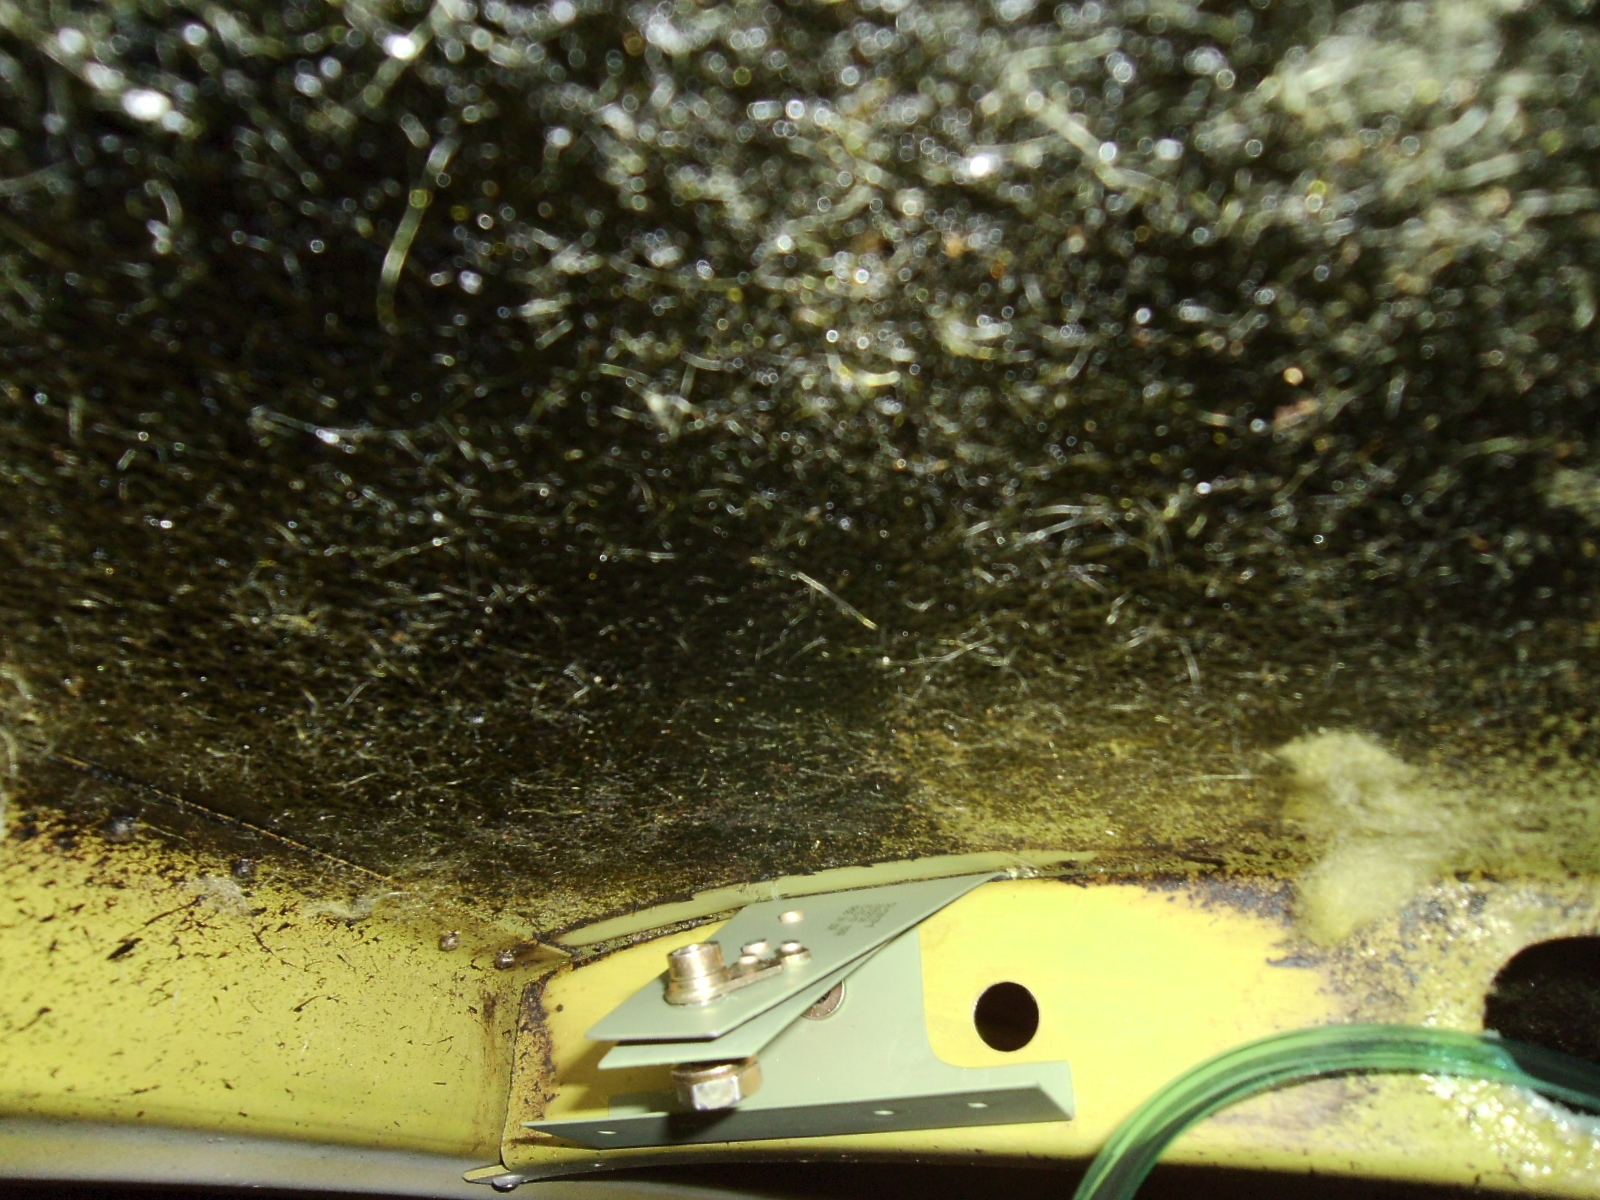
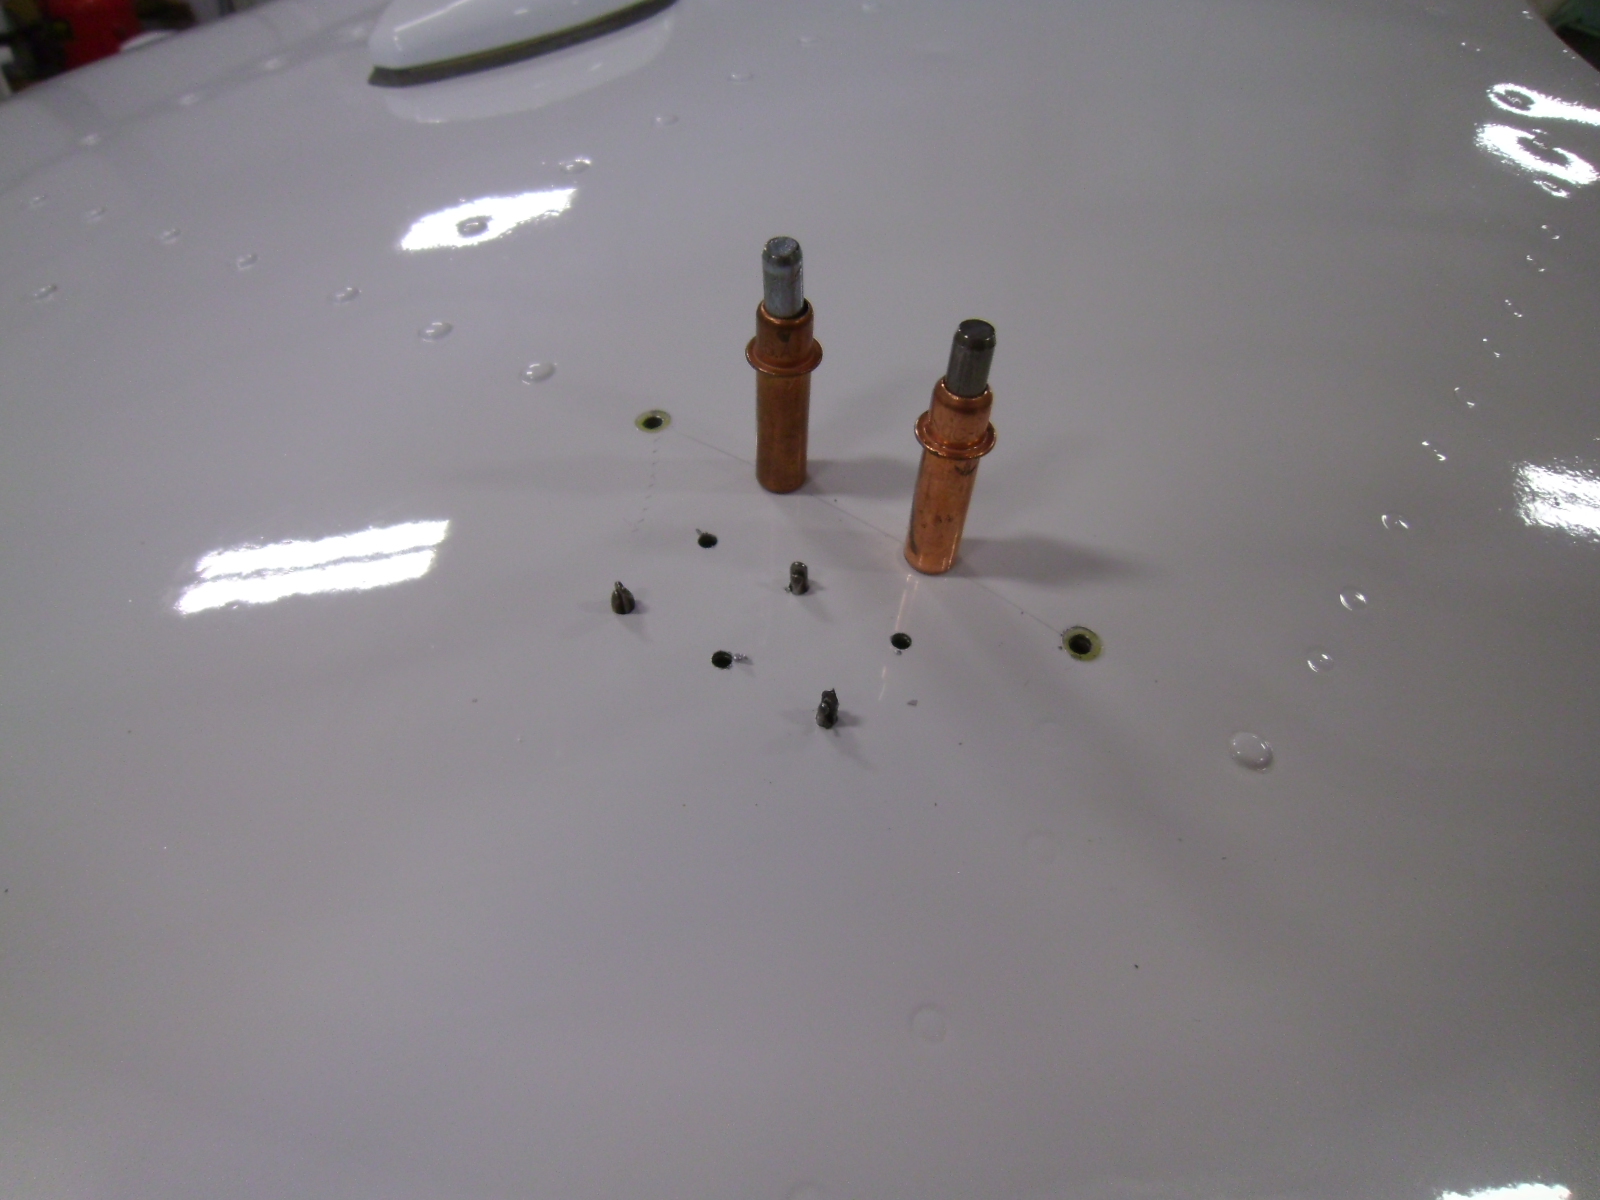
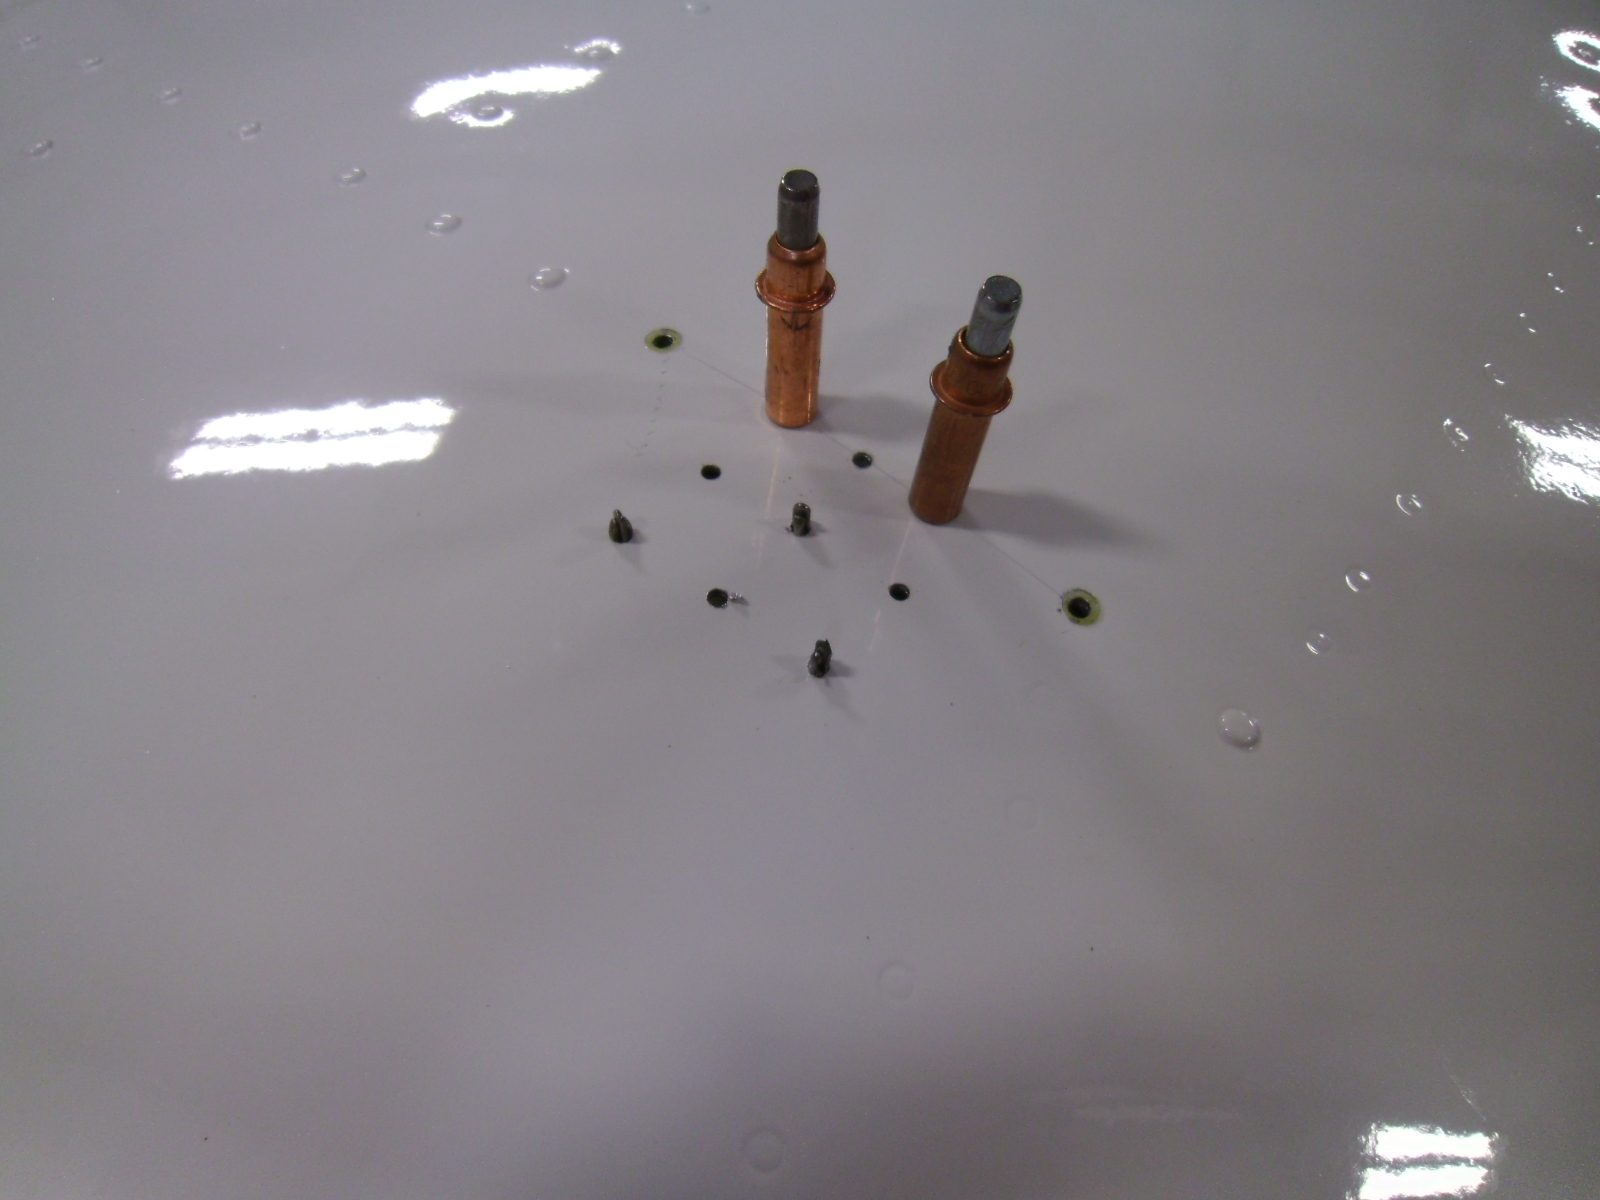
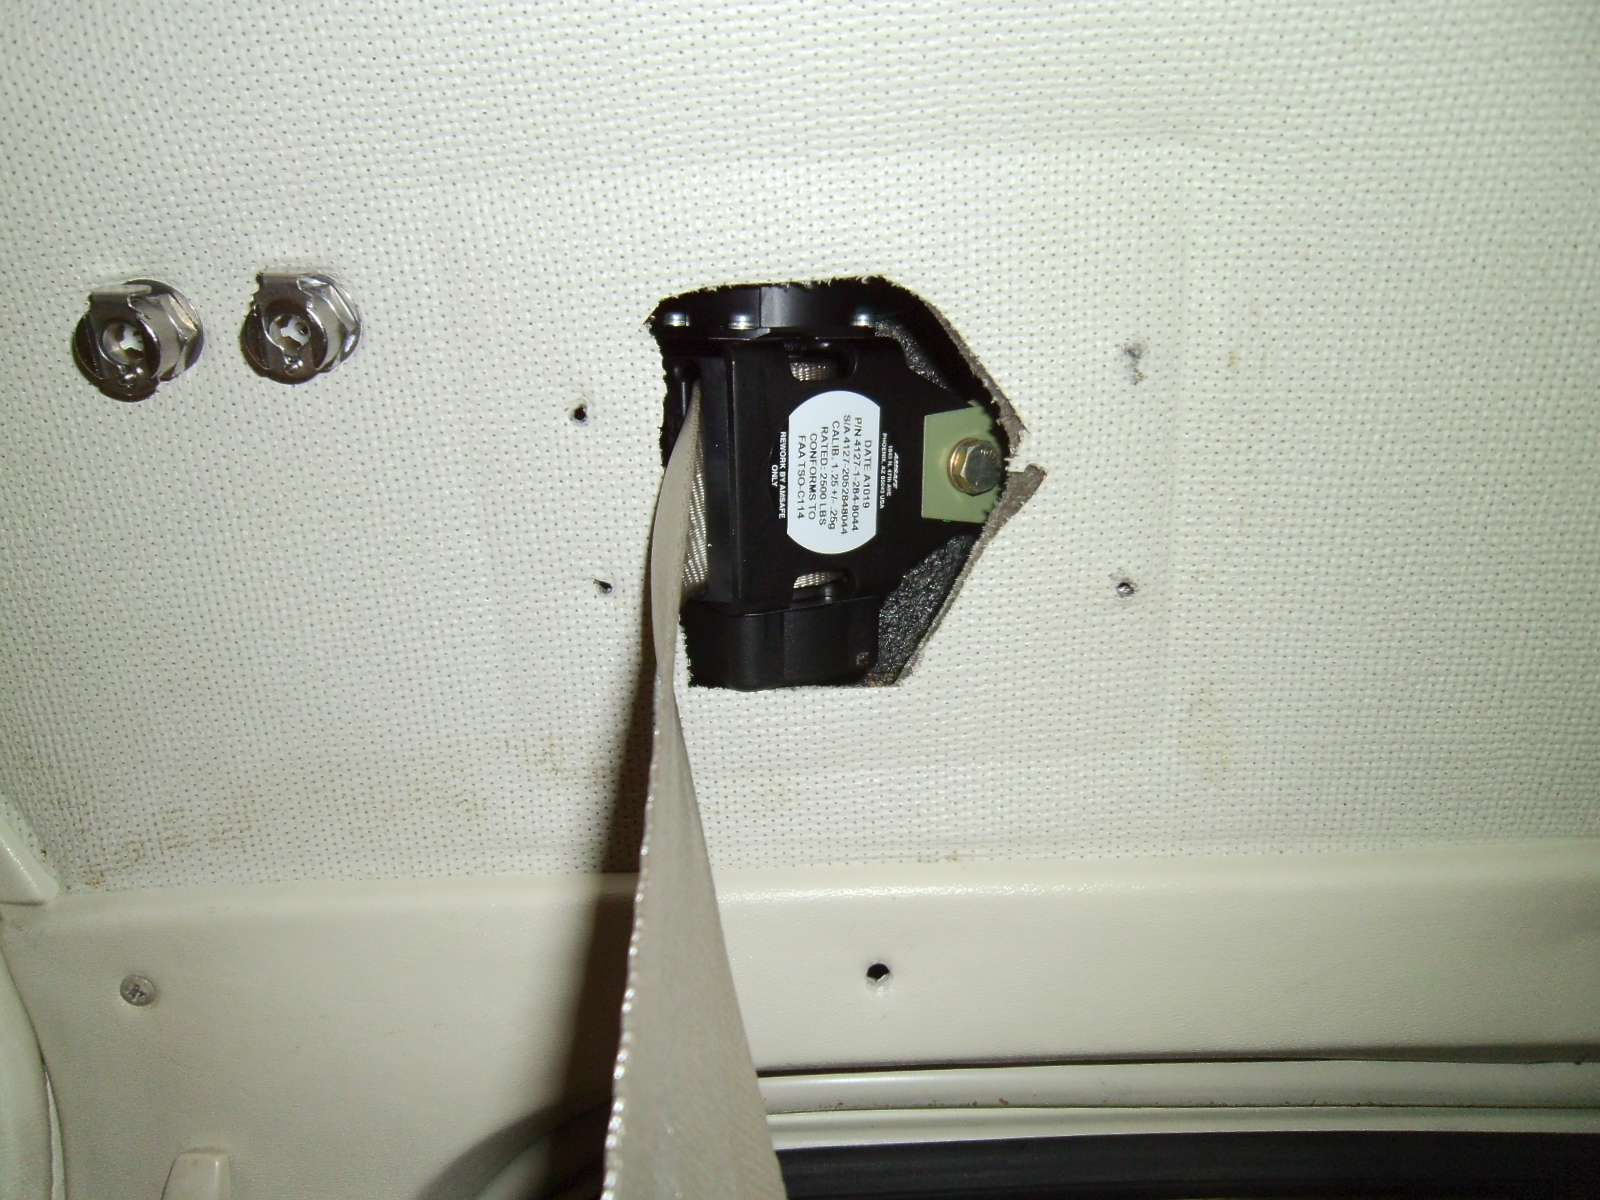
Take measurements to locate the reel mounting hole on the aircraft and transfer to the headliner. In the parts supplied by BAS is a backing plate to be installed above the headliner; it also makes for a nifty hole template. As the saying goes, measure it out a few times before cutting the hole. And these holes are always easier to make bigger! Adjustments can be made to fit as the headliner is reinstalled. No moving parts of the reel or harness can be rubbing on the headliner, for obvious reason.
Complete the project by changing out the lap belts and installing the dress cover plates.